prosthodontics

The Wol-Ceram Electro-Layered Coping

2007-10-15
The Wol-Ceram Electro-Layered Coping
 Model Preparation
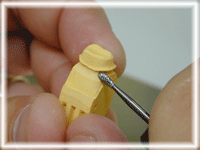
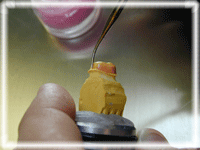
The fabrication of the Wol-Ceram Coping involves the preparation of the model for restoration. Caution must be exercised to keep the base as thin as practical, and the maximum workable area of the prepared die should combine a specific height in order to avoid fracture of the dipped coping. The ditching of the die needs to be deeper than a typical PFM die. This would facilitate removal of excess coping material. See figure 1.

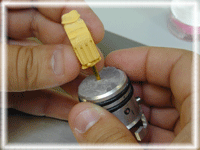
The height of the die and the height of the magazine should be the same length. If the die is too tall and you are unable to press further into the wax, you will need to reduce the length of the dowel pin. Molar dies should be placed in the magazine with a slight angulations to prevent the formation of an air pocket between the cusps as the die as it is immersed into the slip material. Dies with severe discrepancy in lingual and labial margin height should be placed in the magazine at an angle such that the lingual and labial margins are in approximately the same parallel plane. See figure 2.

Ditching of the die

Figure 1 Figure 2
Immersing the die
 
  Die Preparation
After the preparation of the master die, the die is placed in the Wol-Ceram die holder and it’s prepared for the electro–layering process. Below are the steps for the actual preparation of the die before going to the electro–layering process.


Note: The steps below should be read from Left to Right.

Die must be centered

Paint the die with a thin coat of pink Spacer

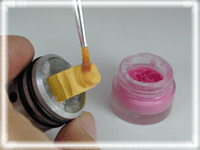
  The die must be centered into the die holder. This is very crucial because if is not centered properly the laser will not read the point positions causing the machine’s software to give an error.     Using a soft brush, paint the die with a thin coat of pink Spacer. Brush strokes should be in a circumferential direction. The Wol-Ceram Spacer Wax functions as the blockout material, as the spacer for the cementation gap, and as the release agent which allows you to remove the coping from the die.  

Apply a thin layer of Spacer circumferentially around the die

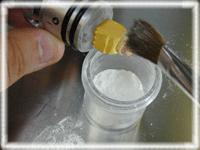
Light dust the prepared die with Alumina powder

  Using a hot wax pen and pink Spacer, block out any undercuts in the die and apply a thin layer of Spacer circumferentially around the die. Wax is also omitted from the lingual surface of anterior and occlusal surface of posteriors. This creates an occlusal stop which prevents masticatory forces from being transferred to the margins.     Light dust the prepared die with Alumina powder using light brush strokes. Blow off excess powder. The powder reduces the sheen of the wax so the laser can take an accurate measurement.  

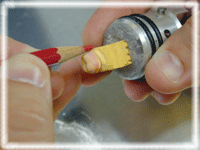
Redefine margins with a red pencil

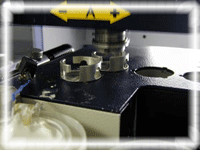
Carefully place the loaded Magazines

  Redefine margins with a red pencil. This will aid in removing excess coping material after processing.     Carefully place the loaded Magazines into the Processing Unit with the die pointed down into the receptacle. The machine allows up to 5 units to be processed in sequence. The die is now ready to be electroplated.  
  Fabrication of the Wol-Ceram Electro-Layered Coping
After the preparation of the coping, the die is ready for the electrolayering process. By running the adequate software options from the machine (See the Wol-Ceram Instructions Manual “Running the Software”), the electrolayering process will start. Below are the steps for the actual electrolayering process.


Note: The steps below should be read from Left to Right.

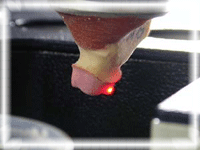
Only the height of the die is scanned

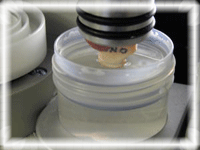
The die is then dipped into the electrolyte liquid

  Only the height of the die is scanned. This step will determine how deep the coping will go into the electrolyte liquid and the material.     The die is then dipped into the electrolyte liquid. The electrolyte liquid functions as a current conductor on the surface of the die while the electro–layering process runs.  

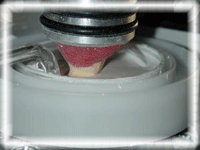
The In-Ceram is applied

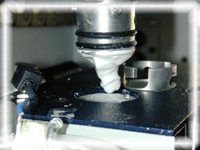
Drop the die into its corresponding notch

  The In-Ceram is applied. During the electro-layering process, the die and material are oppositely charged. The resulting attraction produces a dense, even coating at a preset thickness. The dipping of the die produces an intimate fit.     After the In-Ceram material has been applied and the electro-layering process is finished, the machine will drop the die into its corresponding notch and continue with the next coping.  

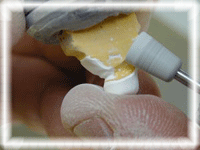
Remove excess Slip material below the margin of the die

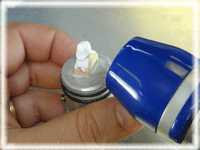
Heat the coping with a handheld dryer to warm the layer of wax under the coping

  Using a slow speed hand piece, remove excess Slip material from below the margin with the soft rubber cup until red margin is exposed. Care must be taken when exposing the margin as this step defines the final margin of the crown.     Once all excess material is removed from the undercut areas and margins are exposed, heat the coping with a handheld dryer to warm the layer of wax under the coping. After about 20 seconds, the wax should have melted allowing the coping to be pulled off.  
 

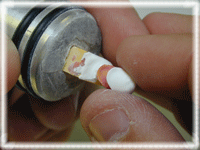
With light finger pressure, carefully remove the coping from the die


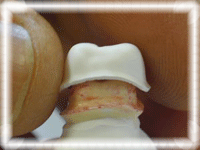
Finished coping

 
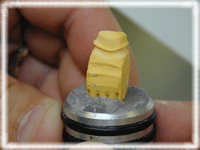
  With light finger pressure, carefully remove the coping from the die. The coping should be gripped on the sides of the insical/occlusal wall to reduce the chance of breakage when removing it from the die. If unable to easily remove the coping, check for possible engaged undercuts around the margin. Remove any excess material and warm the coping again.     After the coping is pulled off, the next step is to sinter, and glass infiltrate the coping.