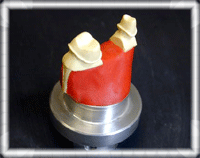
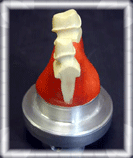
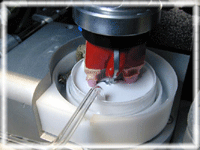
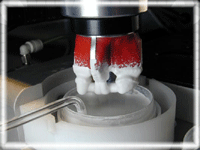
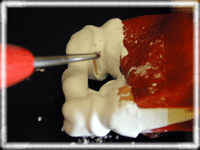
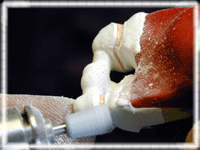
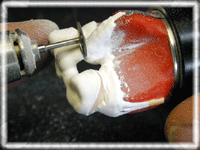
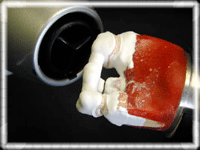
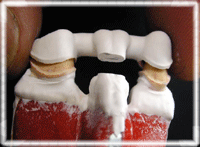
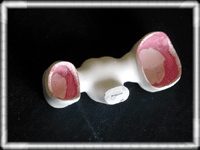
After the master die has been prepared and placed correctly in the Wol-Ceram bridge holder, the bridge model is ready for the electro–layering preparation. Below are the steps for the actual preparation of the die before going to the electro–layering process.
|
Note: The steps below should be read from Left to Right.
|
|
|
|
|
| |
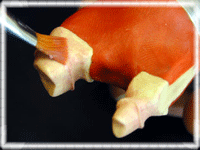
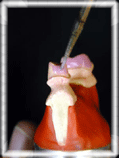
A very thin layer of pink spacer wax is brushed onto the die. Be sure not to brush towards the margin or material will accumulate resulting in a weak margin. |
|
|
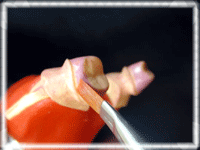
A layer of wax is applied to the coping sides and any undercuts are blocked out. The proper thickness is achieved when the die is no longer visible. |
|
|
|
|
| |
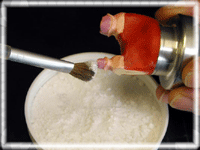
Using the spacer brush, the wax is evened out to achieve a smooth layer. This is very important because the bridge’s inner surface will be an exact replica of the wax surface. |
|
|
A thin coat of alumina powder is then applied the die. Be sure not to leave clumps of powder and to blow off any excess material. This facilitates application of the In-Ceram material during the dipping process. |
|
|
|
|
| |
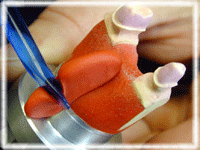
A nose is made from the putty and applied it to the buccal side of a posterior bridge or the lingual side of an anterior bridge. |
|
|
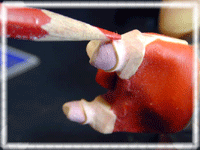
The margin is marked with a red pencil. |
|
|
|
|
| |
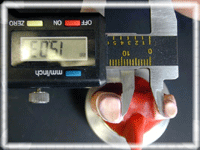
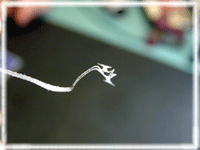
The ELC chips are available in different sizes. Measure your bridge span and match the size to the correct chip. |
|
|
By bending the chip with tweasers, the tooth’s cusp can be duplicated. Also, adjust you chip to conform with the buccal shape of the dies. |
|
|
|
|
| |
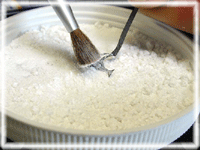
The chip is then dusted with alumina powder. |
|
|
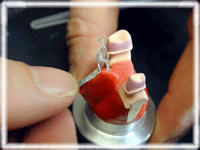
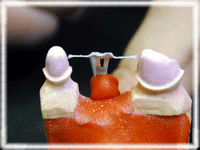
Place the prepared ELC chip onto the putty’s nose. Pressing down on the chip engages it into position. |
|
|
|
|
| |
There should be a gap from .5 to .8 mm between the chip and the die. They should not be touching. The connector of the chip should be 1 mm below the top of the preparation. |
|
|
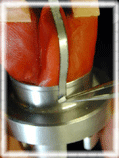
Fold the chip at the base before snapping on the connection clip. Failing to do so may cause the bridge to fail. |
|